Setting Up an SSTP VPN Server on a MikroTik Router and Configuring Windows Clients
This tutorial covers step-by-step instructions to set up an SSTP (Secure Socket Tunneling Protocol) VPN server on a MikroTik router, including generating the Let’s Encrypt SSL certificates, and configuring a Windows client.
Step 1: Generate SSL Certificates
Open a Terminal and run the following command. The DNS entry used has to be a valid DNS record that resolves to the public IP of the router.
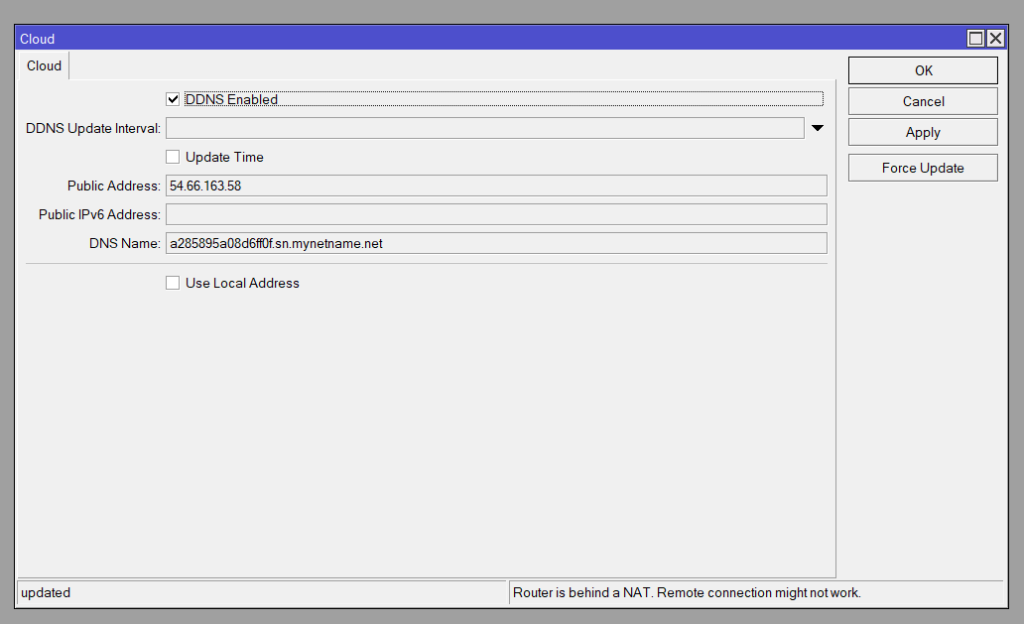
certificate enable-ssl-certificate dns=a285895a08d6ff0f.sn.mynetname.net
If you don’t have a valid DNS Domain to use then you can use the MikroTik inbuilt DDNS service (IP > Cloud) and the DNS Name from this. (NB If using a CHR instance a valid P license is required to use DDNS)
View this article about deploying a CHR in AWS which outlines CHR licensing

Make sure the MikroTik has inbound (and outbound) access to HTTP/S. Once complete the progress will show [success] ssl certificate updated.

Confirm the certificate under System > Certificates

Step 2: Configure the SSTP Server
Enable SSTP Server

/interface sstp-server server set enabled=yes certificate=a285895a08d6ff0f.sn.mynetname.net default-profile=default-encryption authentication=mschap2 pfs=yesConfigure IP Pool for SSTP Clients

/ip pool add name=vpn_pool ranges=10.1.254.10-10.1.254.200Create a PPP Profile for SSTP

/ppp profile add name=sstp-profile local-address=10.1.254.1 remote-address=vpn_pool use-encryption=yesAdd SSTP Users

/ppp secret add name=andrew password=helloworld123 service=sstp profile=sstp-profileSet Firewall Rules (Optional: If MikroTik is directly internet facing and without another firewall/filter device). Add rules to allow SSTP traffic (port 443):
/ip firewall filter add chain=input protocol=tcp dst-port=443 action=acceptStep 3: Configure Windows Cli
Create a New VPN Connection
- Open “Network and Sharing Center” > “Set up a new connection or network.”
- Choose “Connect to a workplace” > “Use my Internet connection (VPN).”
- Enter your MikroTik router’s public domain name in “Internet Address.” (MUST BE DOMAIN NAME)
- Provide a name for the connection, e.g., “MikroTik SSTP VPN.”
- Click “Next.”

Configure VPN Properties
- Open the “Network” adapter settings.
- Right-click the new VPN connection > “Properties.”
- Go to the “Security” tab.
- Set “VPN type” to “Secure Socket Tunneling Protocol (SSTP).”
- Ensure “Microsoft CHAP Version 2 (MS-CHAP v2)” is checked.
Connect to the VPN
- Click the network icon in the taskbar.
- Select the VPN connection and click “Connect.”
- Enter the username and password created on the MikroTik router.
Step 4: Verify the Connection
Check MikroTik Active Connections – Ensure the client is listed as connected.
/interface sstp-server monitor 0

Verify IP Configuration on Windows Run ipconfig in the command prompt and confirm the assigned IP address matches the SSTP pool.

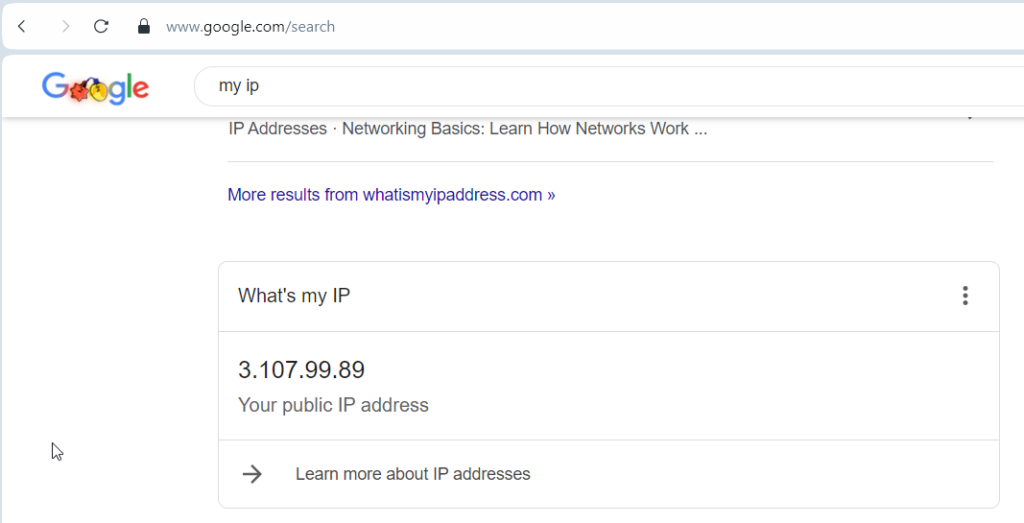
Confirm Public IP matches that of the remote MikroTik


