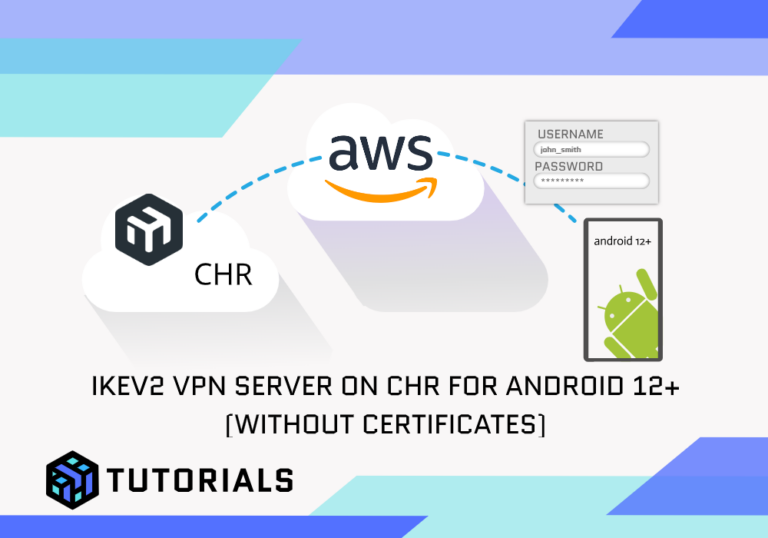
This is a follow on from a previous video and guide on how to configure a IKEV2 VPN Server for Android 12+ in which we used certificates generated on the MikroTik and installed on the Andriod device as part of the authenication and encryption.
This guide is similar however we won’t genrate any certificates but instead use an IPSec identifier (username) and PSK (password). However it is worth mentioning that for a higher level of security using certifcates is a prefered method.
Also in this guide we will be using a MikroTik CHR deployed in AWS, however any internet facing MikroTik will work. For a guide for configuring a CHR in AWS using the Free Tier check out this guide:
Step 1: Create an IP Pool for VPN Clients
Define a range of IP addresses to be assigned to VPN clients:
/ip pool add name=vpn_pool ranges=10.1.254.10-10.1.254.2
This pool relates to a bridge I have configured on the CHR called vpn_bridge with IP address 10.1.254.1/24.
Step 2: Configure IPsec Mode Config
Set up the mode configuration for assigning IP addresses and DNS to VPN clients:

/ip ipsec mode-config
add address-pool=vpn_pool address-prefix-length=32 name=cfg-ikev2-no-cert static-dns=8.8.8.8 system-dns=no
Step 3: Define the IPsec Proposal
Specify the encryption and hashing algorithms:

/ip ipsec proposal
add auth-algorithms=sha256,sha1 enc-algorithms=aes-256-cbc,aes-256-ctr,aes-256-gcm,aes-192-cbc,aes-192-ctr,aes-192-gcm,aes-128-cbc,aes-128-ctr,aes-128-gcm name=proposalikev2-no-cert
Step 4: Set Up Policy Groups and Policies
Define and link policies for traffic encryption:

/ip ipsec policy group
add name=group-ikev2-no-certs

/ip ipsec policy
add dst-address=0.0.0.0/0 group=group-ikev2-no-certs proposal=proposalikev2-no-cert src-address=0.0.0.0/0 template=yes
Step 5: Configure IPsec Profile
Set up the IPsec profile with encryption and hashing parameters:

/ip ipsec profile
add dh-group=modp2048,modp1536,modp1024 enc-algorithm=aes-256,aes-192,aes-128 hash-algorithm=sha256 name=profileikev2-no-certs
Step 6: Add IPsec Peer
Define the peer settings for IKEv2:

/ip ipsec peer
add exchange-mode=ike2 name=peer-ikev2-no-certs passive=yes profile=profileikev2-no-certs
Step 7: Configure IPsec Identities
Set up identities for the VPN clients:

/ip ipsec peer
add exchange-mode=ike2 name=peer-ikev2-no-certs passive=yes profile=profileikev2-no-certs
Step 8: Configure Firewall Rules
Providing your MikroTik is blocking all incoming (Input Chain) traffic, you’ll need to allow IPsec-related traffic through the firewall. If you have another device controlling your inbound traffic (such as an AWS Security Group on a CHR Instance) then you’ll need to allow the following:
- UDP 500 (IKE)
- UDP 4500 (NAT-Traversal)
- IPSEC-ESP 50 (IPSec)

/ip firewall filter
add action=accept chain=input comment=ALLOW::IKE dst-port=500 in-interface=ether1 protocol=udp
add action=accept chain=input comment="ALLOW::PRIVATE VPN" dst-port=4500 in-interface=ether1 protocol=udp
add action=accept chain=input comment=ALLOW::IPSEC in-interface=ether1 protocol=ipsec-esp
add action=accept chain=input in-interface=ether1 src-address-list="ALLOWED HOSTS"
add action=drop chain=input in-interface=ether1 src-address-list="ALLOWED HOSTS"
Step 9: Testing and Connecting
Android
- Open your VPN Connections Manager and use the following details:
- Type: IKEv2/IPSec PSK
- Server address: The Pulbic IP of your MikroTik
- IPSec Identifier: Username/Remote ID (andrew)
- IPSec pre-shared key: Password/Secret (helloworld123)

We can confirm via IP > IPsec > Active Peers


Thanks for tutorial, I’m able to establish ipsec tunnel client – server, but I cannot reach internet over it..