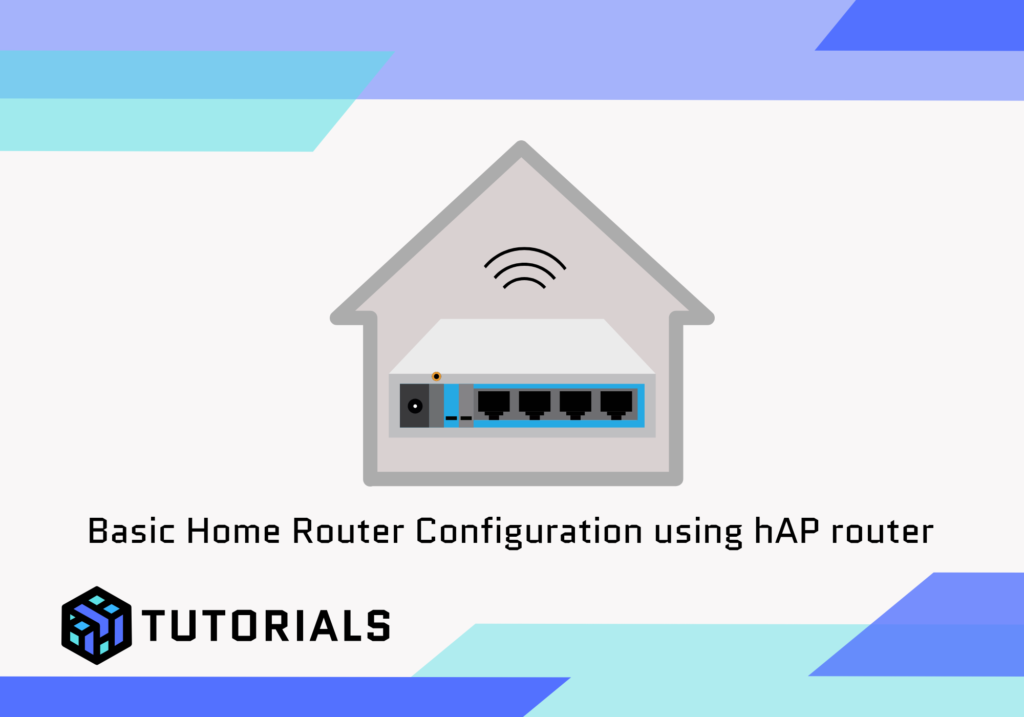
Basic Steps for Setting Up your Home Network
- Prepare your hardware
- Configure your LAN settings
- Configure your WAN settings
- Setup your Wi-Fi
- Provision DHCP and DNS settings
- Finally configure the NAT and Firewall Settings
Step 1: Reset the Router to Remove Default Configuration
- Connect to the router using Winbox.
- Go to System > Reset Configuration.
- Check No Default Configuration to remove the preloaded configuration, then click Reset Configuration.
- The router will reboot with a clean configuration.
Step 2: Set up the LAN Bridge
- Go to Bridge > Bridge.
- Click Add New to create a new bridge.
- Set the Name to
bridge-localand click OK.
Add Ports to the Bridge
- Go to Bridge > Ports.
- Click Add New and add each of the ports you want to include in the bridge (ether2, ether3, ether4, ether5).
- For each port, set Interface to
ether2(then repeat forether3,ether4, andether5) and Bridge tobridge-local. - Click OK after adding each port.
Step 3: Configure the LAN IP Address
- Go to IP > Addresses.
- Click Add New.
- Set the Address to
192.168.0.1/24. - Set the Interface to
bridge-local. - Click OK.
Step 4: Set up the WAN Interface
- Go to IP > DHCP Client.
- Click Add New.
- Set the Interface to
ether1(or whatever port you want as the WAN). - Check Use Peer DNS and Use Peer NTP if you want to use the provider’s DNS and time settings.
- Click OK.
Step 5: Configure the WiFi Interfaces
- Go to Wireless > WiFi Interfaces.
- Select
wlan1(2.4 GHz interface) and Enable it. - Set the SSID to
helloworld-wifi. - Go to Security Profiles, add a new security profile (e.g., WPA2), and configure it with your preferred security settings (such as WPA2-PSK and a strong password).
- Return to
wlan1, set the Security Profile to the one you created, and configure other basic settings as needed. - Repeat these steps for
wlan2(5 GHz interface).
Add WiFi Interfaces to the LAN Bridge
- Go to Bridge > Ports.
- Click Add New.
- Set the Interface to
wlan1, and Bridge tobridge-local. - Click OK.
- Repeat the steps to add
wlan2to thebridge-local.
Step 6: Set up the DHCP Server for the LAN
- Go to IP > DHCP Server.
- Click DHCP Setup and select bridge-local as the interface.
- Follow the setup wizard to set the DHCP pool range and DNS servers.
- DHCP Address Space: 192.168.0.0/24
- Gateway for DHCP Network: 192.168.0.1
- Address to Give Out: Set the range as
192.168.0.10-192.168.0.250 - DNS Servers: Set to
8.8.8.8and8.8.4.4
- Complete the wizard to activate the DHCP server.
Step 7: Set up DNS Server
- Go to IP > DNS.
- Enable Allow Remote Requests.
- In the Servers field, enter
8.8.8.8and8.8.4.4. - Click OK.
Step 8: Configure NAT (Source NAT) for WAN Interface
- Go to IP > Firewall.
- Select the NAT tab.
- Click Add New to create a new NAT rule.
- Set Chain to
srcnat. - Set Out Interface to
ether1(or the WAN interface). - Set Action to
masquerade. - Click OK.
This rule will ensure that traffic from the LAN going out to the internet is NATed properly.
Step 9: Configure Firewall Filter Rules
Allow Input Traffic from the LAN
- In IP > Firewall, go to the Filter Rules tab.
- Click Add New.
- Set Chain to
input. - Set Src. Address to
192.168.0.0/24. - Set Action to
accept. - Click OK.
This rule allows any incoming traffic from the LAN network (192.168.0.0/24) to access the router.
Drop All Other Input Traffic Except Established Connections
- In the Filter Rules tab, click Add New again.
- Set Chain to
input. - Set Connection State to
established, related. - Set Action to
accept.
This final setup ensures that only traffic from the LAN and established connections are accepted by the router, while other incoming traffic on the input chain is dropped.
Final Checks
- Save Configuration: Go to Files, create a backup by clicking Backup.
- Reboot the router to ensure all settings take effect.
This setup configures your MikroTik hAP router with a LAN bridge (192.168.0.1/24), a WAN on ether1, and a DHCP server providing IPs from 192.168.0.10 to 192.168.0.250. Both wlan1 and wlan2 are configured under the SSID helloworld-wifi and included in the bridge with LAN ports.
Recommended hardware for a home network are the hAP ac or the hAP ax.


